How to do eyeliner: tips and tricks to nail your technique
If you want to learn how to do eyeliner like a pro, here's all you need to know
Aleesha Badkar
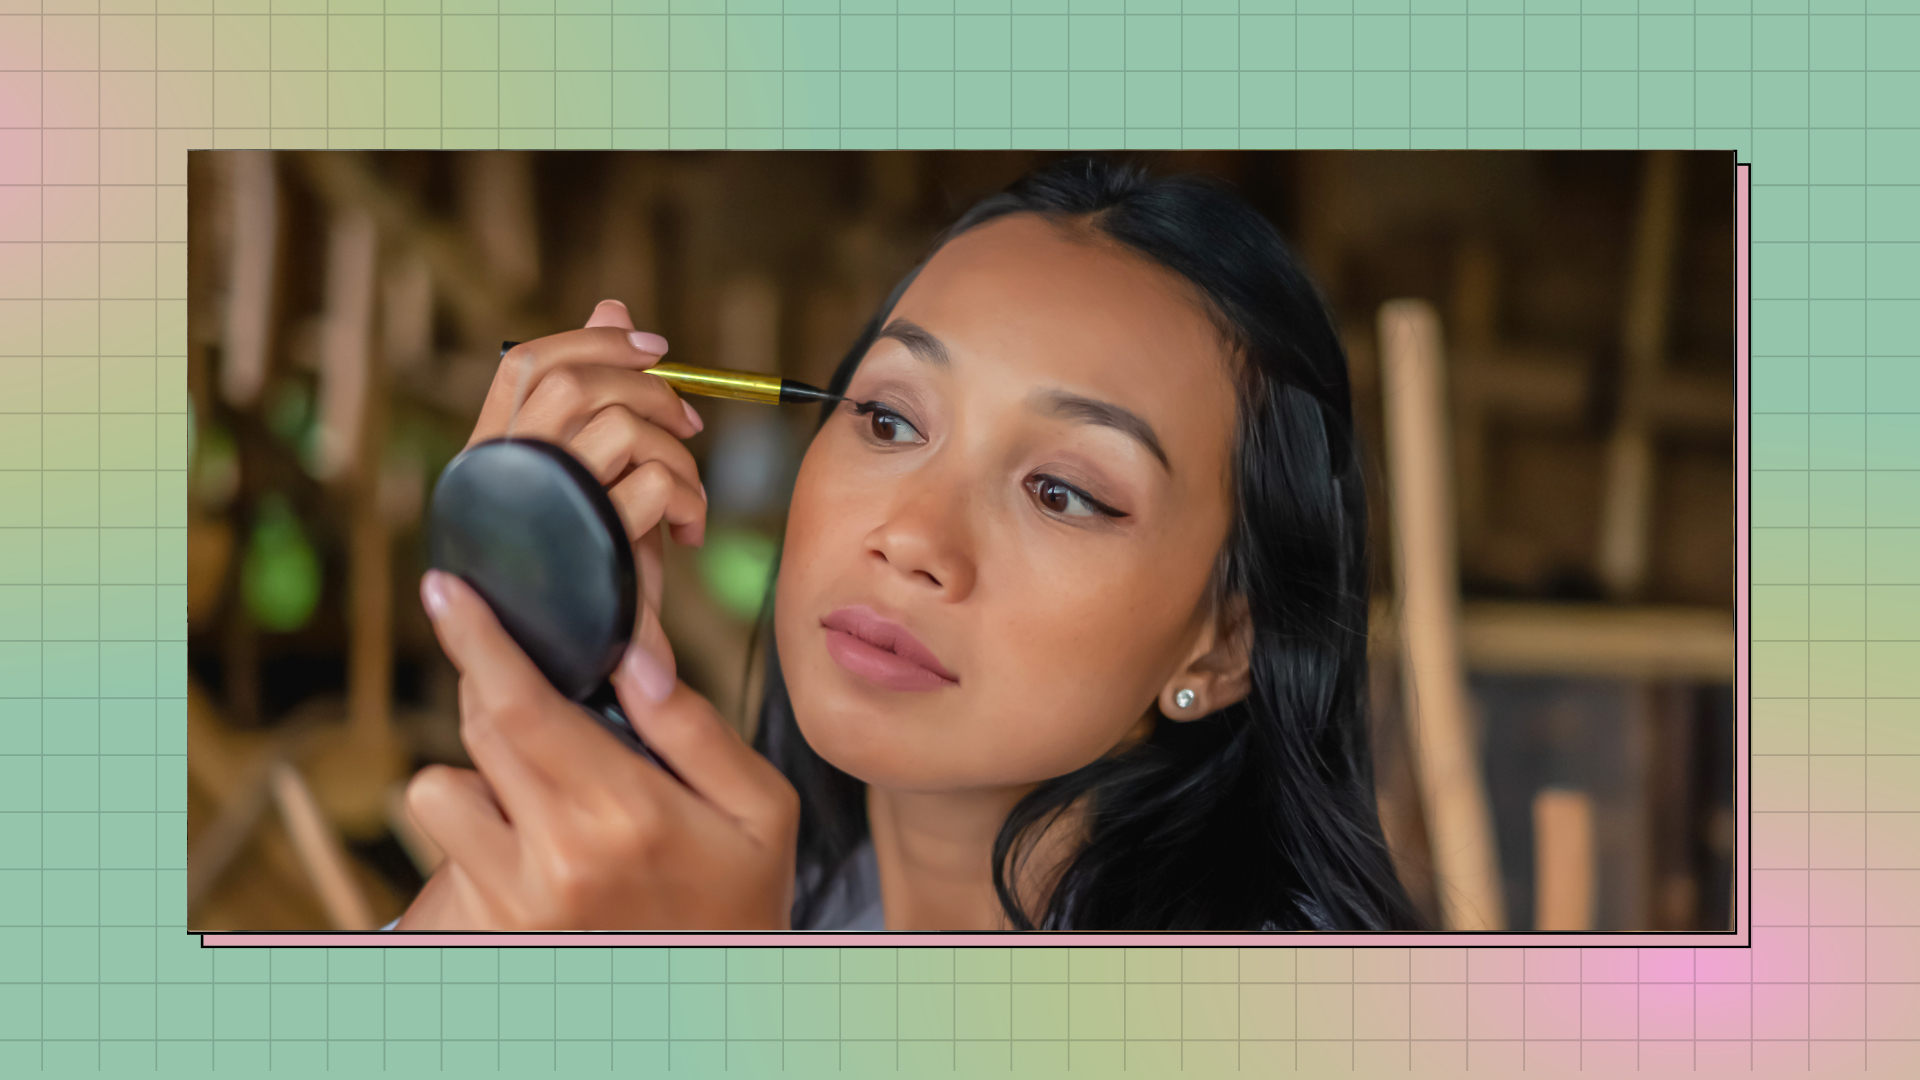
Perfecting how to do eyeliner is one of the most difficult feats in makeup—it's not quite as simple as swiping on your lipstick or sweeping on some mascara. You could even ask any professional makeup artist if they were brilliant at eyeliner right from the start, and they’ll likely agree that it definitely takes time. No matter our skill level now as we apply our best eyeliner and live our best life, we all start with the wobbly wings and smudgy strokes—because as our confidence builds, so too does our artistry.
But no matter how far we’ve come to get to this point, whether you're an everyday cat eye or more of a quick swipe of brown, even if you've graduated from the best eyeliners for beginners there is always so much more to learn.
Which is why we’ve compiled the ultimate guide on how to do eyeliner: which formula is best for what, the differences in color when it comes to impact, what to use as drawing tools—plus where on our eyes we should actually put the stuff! We promise it’ll change your eyeliner game (and, hopefully, encourage you to experiment outside your comfort zone, too).
How to do eyeliner: choosing your formula
What are the different types of eyeliner?
While learning how to do eyeliner, most of us started out with kohl pencils, then graduated onto the best liquid eyeliner formulas and never looked back. But each different type of the eyeliner—pencil, liquid, gel, and eyeshadow (we’ll explain more on that last one in a moment)—deserves a place in your makeup bag. The main types are as follows:
- Pencil
- Liquid
- Pen
- Gel
- Eyeshadow
Pencil
Let’s start with pencils: great for a soft, smudgy look, and the easiest to apply, as long as perfection isn’t your goal. It’s also probably the only formula with which you can safely line your waterline (the area between your lashes and actual eyeball), as it doesn’t disperse upon contact with liquid.
Liquid & Pen
Speaking of liquid, this form is the best for precision and control when you're learning how to do eyeliner. A great liquid eyeliner will be fully pigmented, not too runny and not too dry, and is ideal if you're trying to create an impactful winged eyeliner hack. Pot formulas tend to be the most ink-like and harder to master, whereas pens are the easiest but dry out quicker. The staying power is much longer than a pencil, but less than gel, which is like a hybrid between the two.
Gel
Gel liners often come in pots and need a pointed brush to apply, and don’t budge once dry—so if you want to smudge it out, act quickly and do one eye at once. And it may surprise you to learn that the best eyeshadow palettes can be a great substitute for eyeliner for the most soft-focus effect and a more modern approach, as shadow blends so easily into the skin for barely detectable definition. Use with either a dry or damp angled brush to customise the intensity.
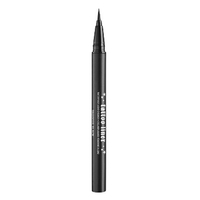
Try: KVD Beauty Tattoo Liner
RRP: $23/£19
A best-seller in the felt tip pen eyeliner category, this liquid liner offers both precise application and a long-lasting, waterproof finish.
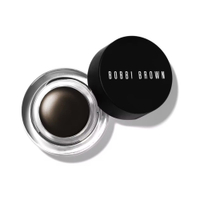
Try: Bobbi Brown Longwear Gel Liner
RRP: $32/£24
One of the most famous gel liners on the market, Bobbi Brown's gel liner is easy to apply and comes in a range of different colors—just make sure you always replace the lid when you're done, otherwise it'll dry out.
Which eyeliner colors are best for me?
Let’s leave colorful eyeliner aside for a moment and focus on neutrals. Black is the most impactful, but is also the harshest and can make eyes simultaneously stand out yet withdraw into the face depending on your skin tone. Grey lessens the harshness slightly, and is really helpful for those with very pale skin or lashes.
Brown works on almost everyone so is a good starting point when learning how to do eyeliner; tailor it according to what you need, like a rich reddish shade for warm skin tones, or a very subtle freckle-coloured one that can be built up (Make Up For Ever have about ten different shades of brown alone).
And finally, nude: pick a shade a few shades light than the concealer you use with the best bb creams and use on the waterline and inner corners to really brighten up the eyes. The right nude can be hard to come by, but some do brands cater to more than one skin tone.
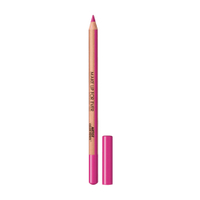
Make Up For Ever Artist Colour Pencil
RRP: $22/£16.50
Plenty of colour options available in an easy-to-use pencil format, Make Up For Ever is one of the go-to brands for makeup pros and beauty enthusiasts.
How to do eyeliner: a step-by-step guide to application
First...where do you apply eyeliner?
Where you place your liner really depends on your eye shape, and what effect you’re going for—so if you're not sure how to do eyeliner, the dramatic Julia Fox eye makeup look is probably not for everyone. This part will require a bit more research as you'll need to decide what look you're hoping to create: makeup artist Katie Jane Hughes’ Instagram is an excellent place to start, especially if you have hooded eyes like hers which require a bit more attention. But, generally, the below are failsafe placement tips that'll help you achieve your desired effect.
- Generally, placing liner on the outer corners will draw the eye outwards and upwards, whereas lining the entire eye creates a rounded effect.
- Putting anything darker in the inner corners can exaggerate the pointed almond shape of this area, which looks pretty amazing alongside an outer corner wing.
- To make your lash line look fuller, scribble the liner between your lashes (this takes practice, so don't panic if you don't get it right first time).
- Darkening the waterline creates a very sharp, angular look—a must for intensifying the smokey eyes achieved with the best eyeshadow palettes.
Depending on what type of formula you opt for and what kind of look you're going for, the best application method can vary.
However, if you're looking for a simple liquid eyeliner method, we'd go for the following:
- Start at the middle of the upper lash line and draw a thin line all the way to the outer corner.
- Decide what angle you want—whether you want an upper pointing flick or something straighter—and then angle your liner to create this. Method 1: For an upper pointing flick, angle the liner to be in line with the outer corner of your lower lash line and then from there draw a small line of your desired length. Method 2: For a straighter line, close your eye slightly and then continue from the top of the line that you've already drawn on.
- Once you've drawn the start of your flick (either the bottom line with Method 1 or the top line with Method 2), close your flick by drawing a line to join other side. Then fill in your flick.
- If needed: Add to the thin line on your lash line to join it seamlessly to your flick and/or reach your desired thickness.
- Draw a very thin line from the inner corner of your lash line to the middle to join up your line. For a more wider-eyed look, rather than taking the liner the very inner corner of your upper lash line, start a little bit further out, just towards the start of the eyelid.
Which brush is best for applying eyeliner?
Despite there being seemingly endless brush options, you only really need about three at the most when figuring out how to do eyeliner. A very skinny liner brush and an angled triangular brush, for both drawing lines and dragging them out, and a pencil brush.
Resembling a very small eyeshadow brush, the bristles are densely packed to help you push liner around on the eye and blend it out. For smudging, the warmth of your pinky finger and a pencil brush are the perfect tools— just remember to keep your tools sanitary and bacteria-free with the best makeup brush cleaners!
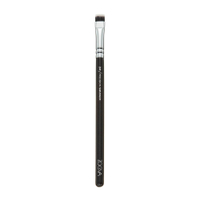
Zoeva 241 Precision Smudger
RRP: $13.80/£10
A dense little smudging brush is a must for your makeup brush kit, and Zoeva makes top-quality tools at fairly reasonable prices.
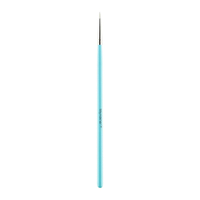
MyKitCo 1.22 My Feliner Brush
RRP: $21/£15.50
A teeny-tiny, super precise brush that can be used with a range of different liner formulas to create ultra-fine lines.
Ava Welsing-Kitcher is a freelance beauty journalist who's earned her stripes at InStyle, Stylist, and The Sunday Times STYLE. Though she can write about anything beauty and wellness, her main passion is hair - especially curly and afro textures. You can find her trawling through ingredients lists and product samples to really get to the bottom of what makes an excellent beauty buy.
- Aleesha BadkarFormer Deputy Editor at My Imperfect Life